I have had some different services to host linux servers, but I always keep coming back to Hetzner. They offer great support, are among the cheapest, have an awesome API and host close to me in Europe.
Getting Started
First of, head over to their web page to create an account. Once signed in, go to their cloud console.
Create Server
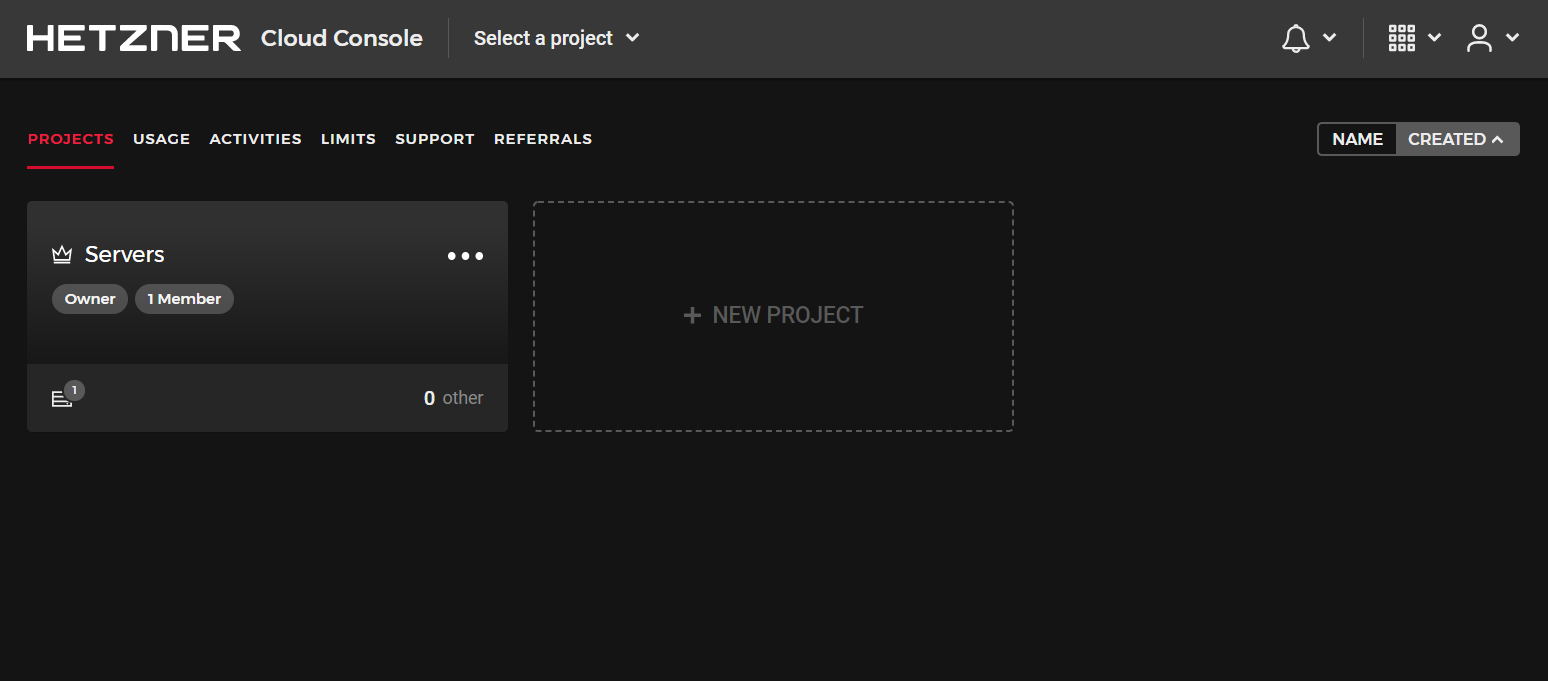
It might look something like this, create a new project or go to an existing one if you already have one, press the Add Server button to create your server.
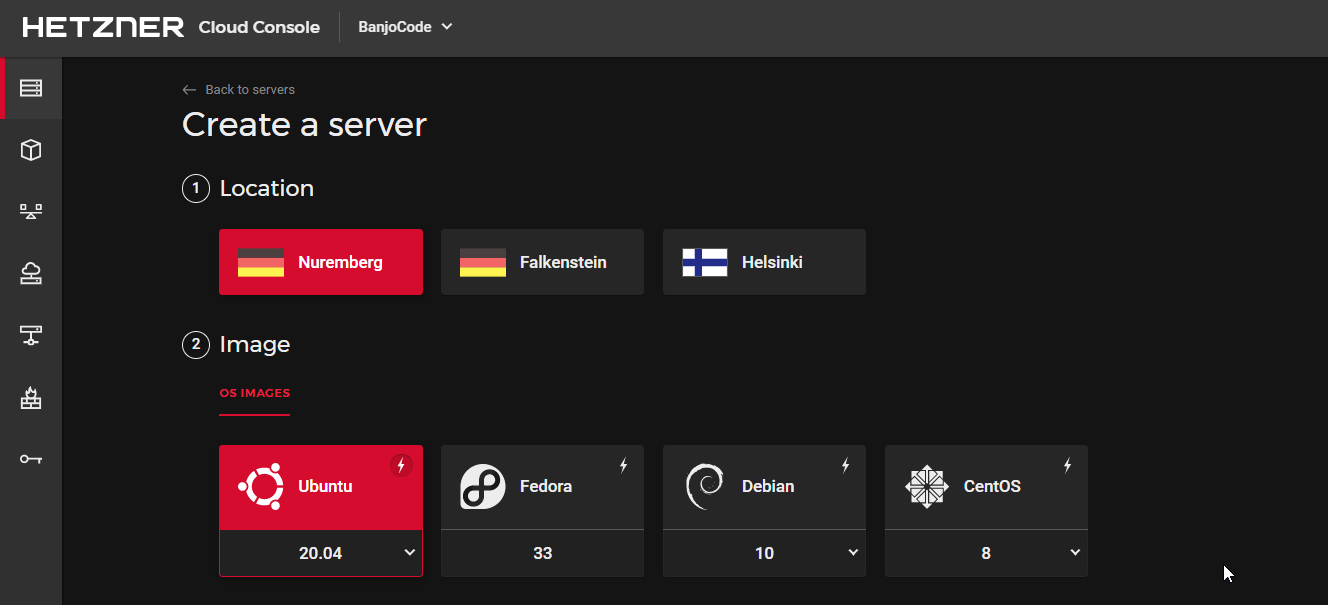
Choose location, what kind of image you want to have (I’ll go with Ubuntu for this guide).
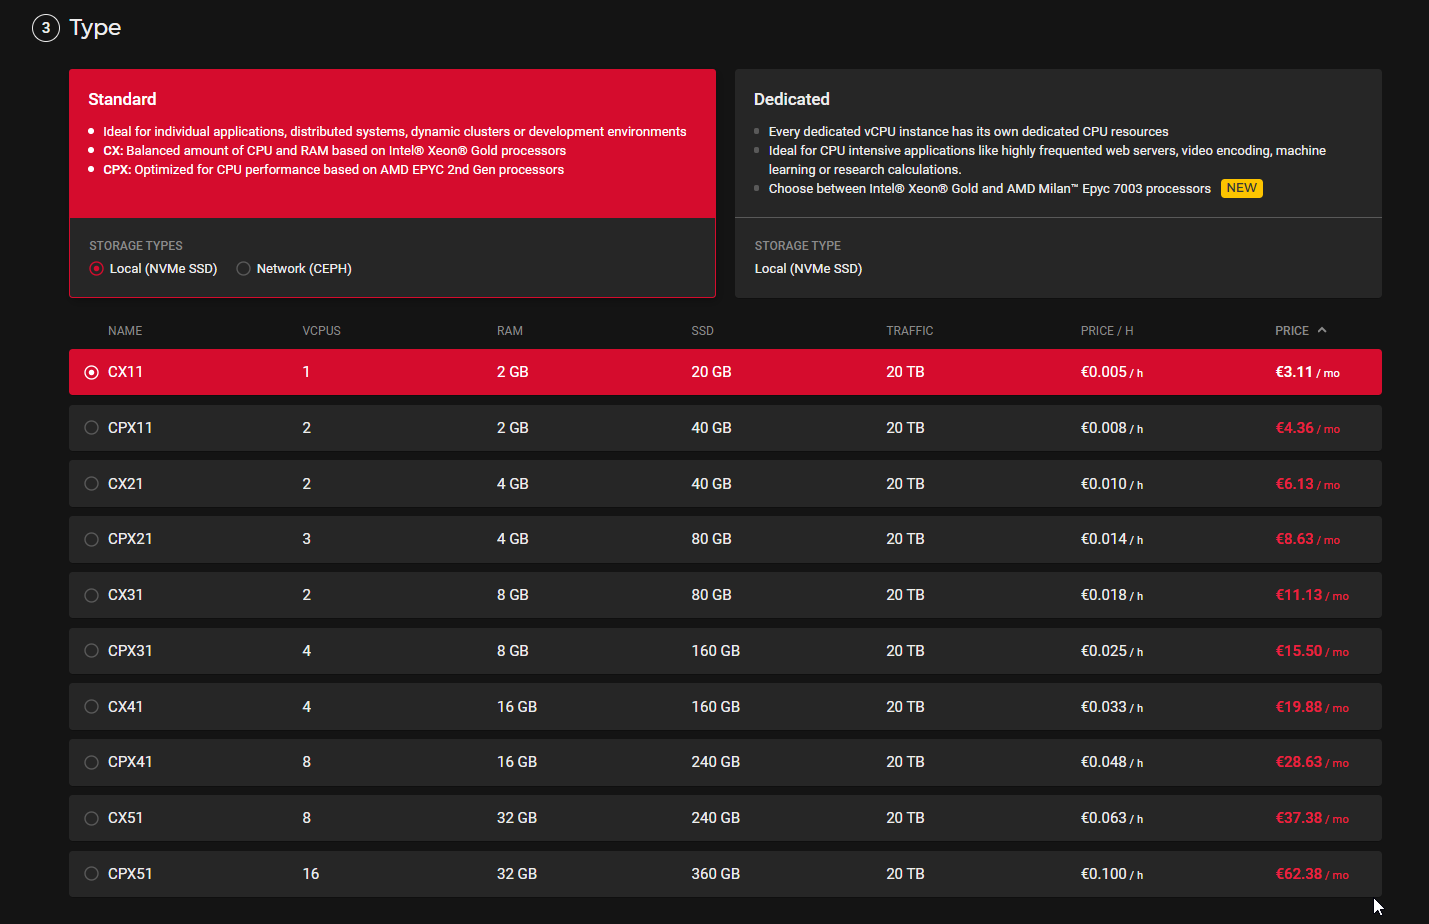
There are several different types of servers, depending on your needs. You’ll see their prices and details in the table. I’ll just go with the cheapest on, CX11 for now.
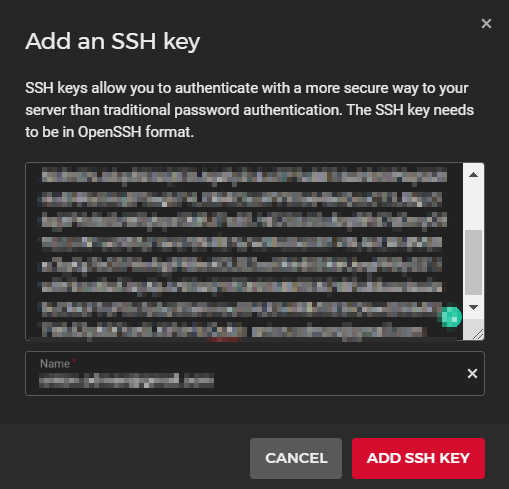
Create SSH Key
I’ll skip features like Volume, Network, Firewall and Backups in this guide. It’s not necessary to get started. You’ll probably want to add a SSH Key for easier access though.
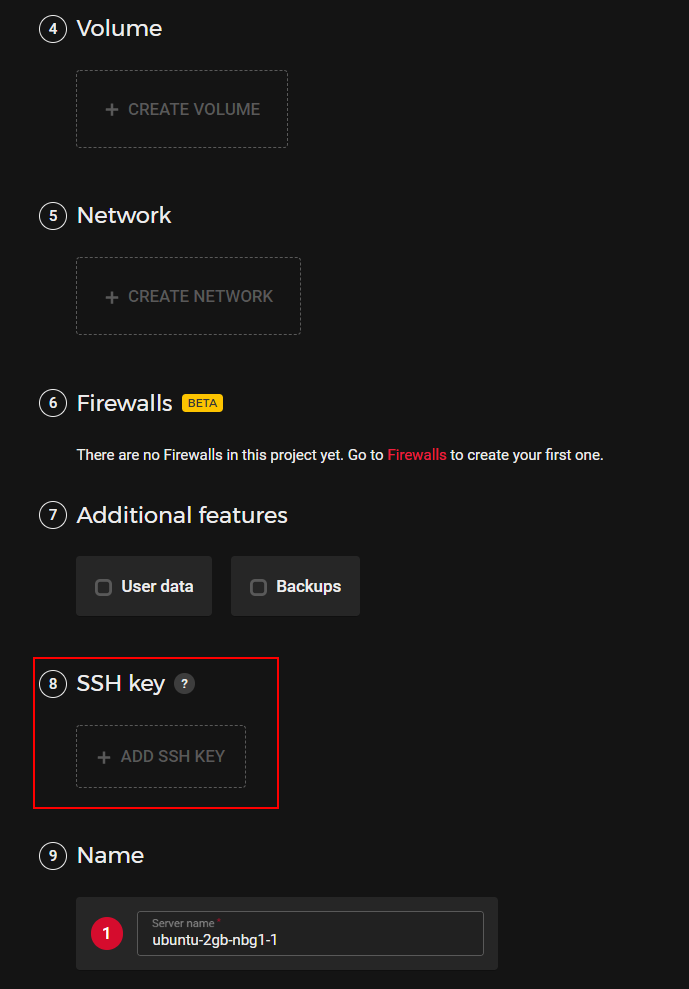
Create a ssh key on your local computer with the following command. Save it to the standard location and use a password if you want to.
ssh-keygen -t rsa -b 4096 -C "[email protected]"We will need to copy the content of the public SSH key to our Hetzner server.
cat ~/.ssh/id_rsa.pubPrint the content and copy it to use it in Hetzner.
Access the Server
Name your server and press Create & Buy Now at the bottom. You’ll see the price at the bottom as well. You’ll see your server being created, it might take a few seconds. Click on it to access the console.

To get the root password, press the Rescue button on the menu and select Reset Root Password.

Save your new root password. We will need it to sign in.
Go to your terminal and use the following command to access your server via SSH (you can get your IP address the the cloud console for your server, at the top, called IPv4).
ssh root@<ip-address>This allows you to sign in to your root account. Finally, we just need to create a new account that you can sign in to instead of the root user. When signed in to the remote server, add the following commands.
# Add User
adduser <name>

# Add to Sudo Group
usermod -aG sudo <name>

# Test if It Works
su - username
sudo ls -la /root
That’s it, you should now have a working remote Linux server. Access it with your new user like this.
ssh <name>@<ip-address>