Working in a remote workplace has a lot of advantages. Modern tools and internet connection allows you do so in realtime, and there are actually a lot of benefits in actually doing so:
- A cheap monthly cost for amazing performance.
- Work from anywhere, access the same environment.
- Work with a Linux environment, which most servers use.
- It’s possible to use a “cheaper” computer as loading occurs on the server.
- Faster build times and internet speed.
VS Code has an extension that’s called Remote - SSH, which allows you to do work remotely, and it’s quite easy to set up and connect to. You only use SSH which is installed as default in most server environments.
Get Started
First of all, we need a server. You can read my guide on how to easily set up a Linux server, using Hetzner. It’s, in my opinion, the best you can get for a cheap price.
You also need to install the extension mentioned above, Remote - SSH, as you need it to connect to your server and use it as if it was local.
Connect to Your Server
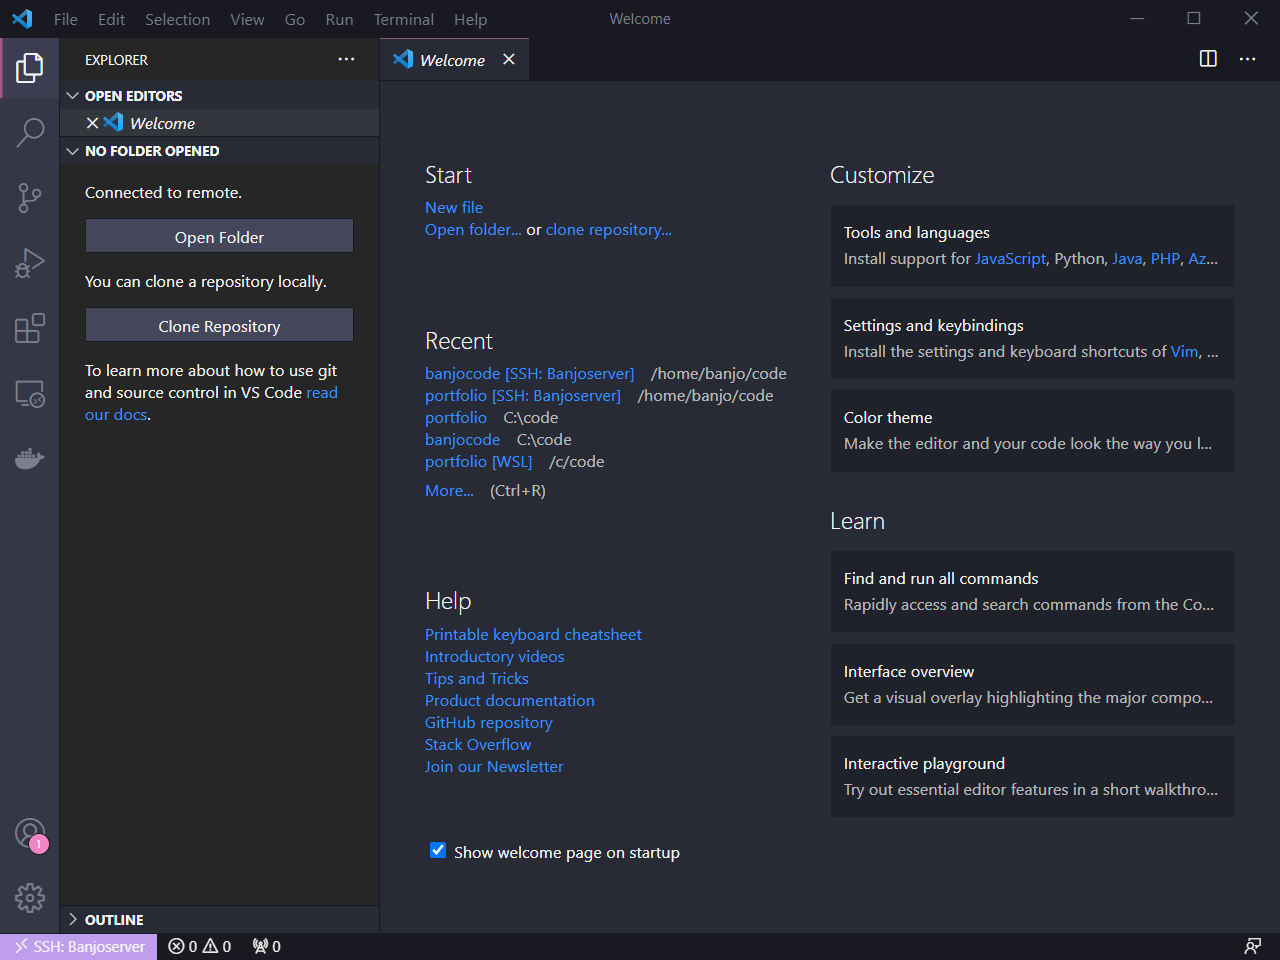
Connecting to your server is very easy, once the extension is installed, you’ll get a new symbol down your left corner.
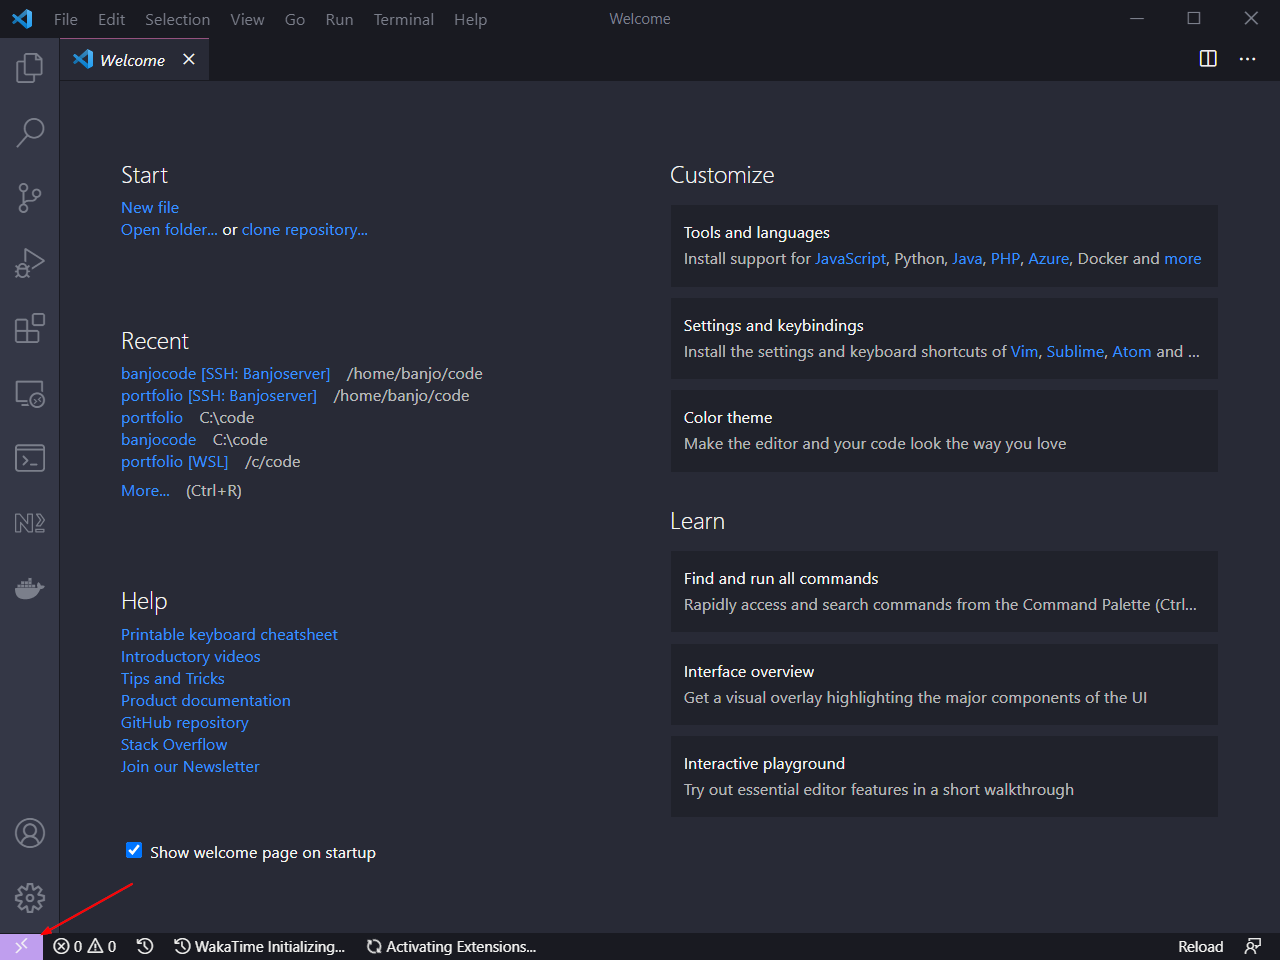
Press it to access the SSH menu, which allows you to do a lot of stuff.
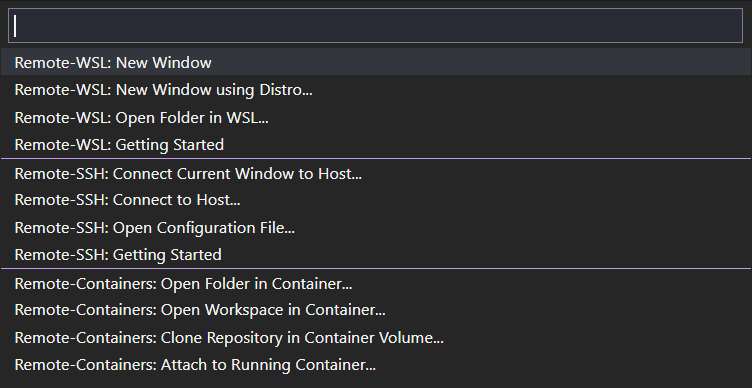
To connect to your server, simply press Remote-SSH: Connect to Host.... You can choose to enter the SSH command directly or add a new SSH Host so you easily can save it for later.
Press Add new SSH Host... to add your connection and save it. You write the command like this:
ssh <user>@<ip-address> -AThe -A flag is used for port forwarding, which you probably need to forward your applications from your server to your own computer to test them out. I’ll show you how to do that later.
Once added, your server will appear in the list in the SSH menu which we accessed before. Connect to your server by simply pressing it and writing your password in the upcoming prompt.

To show you that you have been connected successfully, the bottom left button will show your hostname.
Access Your Project

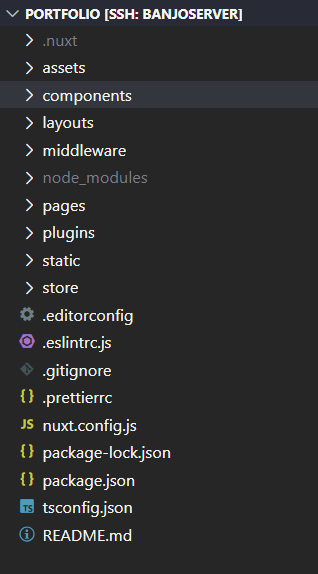
To access your project (which you probably already have downloaded to your server using git), choose Open Folder and go to your project.
You might need to write in your password again, but now you have access to your server’s files like they are at your own computer. And the terminal is connected to the terminal of the server.
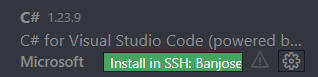
Worth mentioning is that you need to install all extensions on your remote server, which is very simple. You can actually just go to the extension bar in the side menu and browse your installed extensions. If you might need them on your remote server, it will clearly show in the list. Some are not necessary, like themes and fonts, as they are on your local computer.
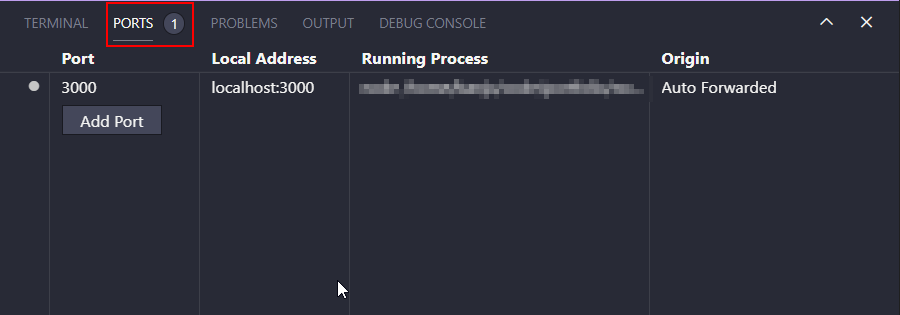
Port Forward to Your Local Machine
To be able to use your applications when you develop remotely, you’ll need to forward to ports that are used when, for example, serving a web page. VS Code handles this automatically. Just run your command serve your web application, in this case, npm run dev for me, to get a prompt to open it on your local computer.
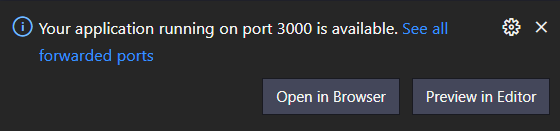
If you want, you can manage your port forwards down at the terminal window.
That’s it. That is how you set up your remote server for development.